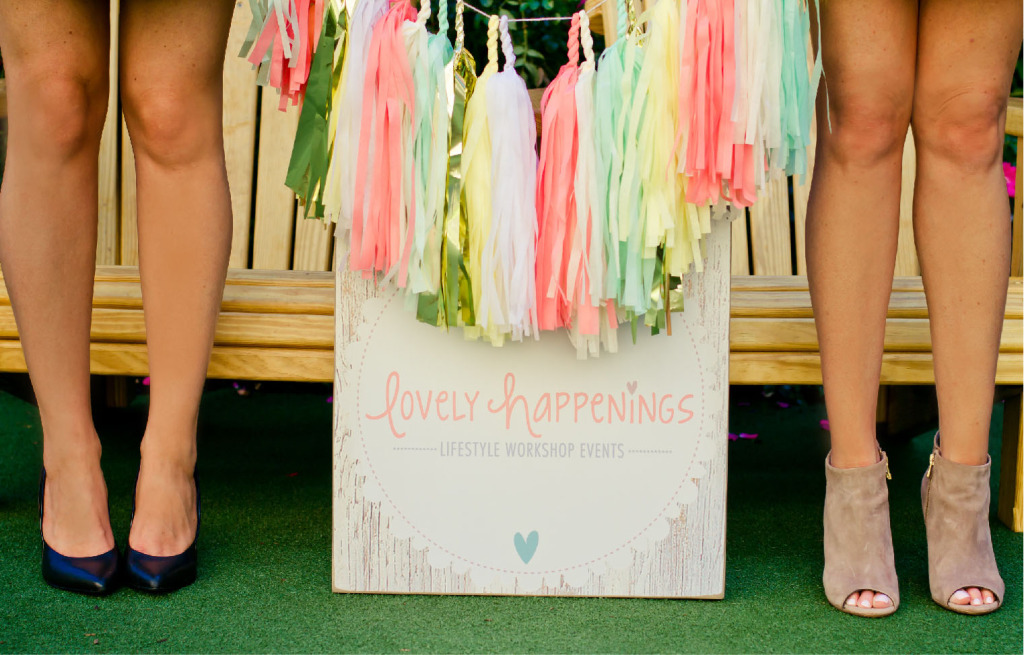
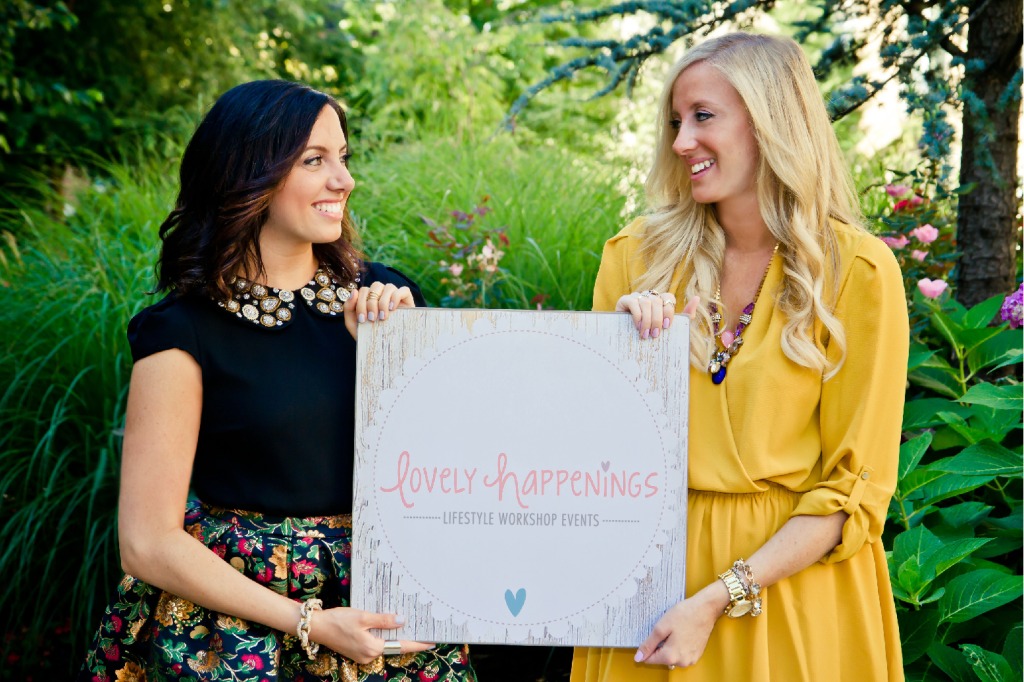
Welcome to our Lovely Happenings Blog!
Lovely Happenings events will place bloggers and other professionals on a platform to teach our guests everything from crafting to cooking to beauty and even fitness.
Before we host our very first Lovely Happenings event, we wanted to teach our future guests a few of our own personal favorite crafts, recipes, and beauty tips.

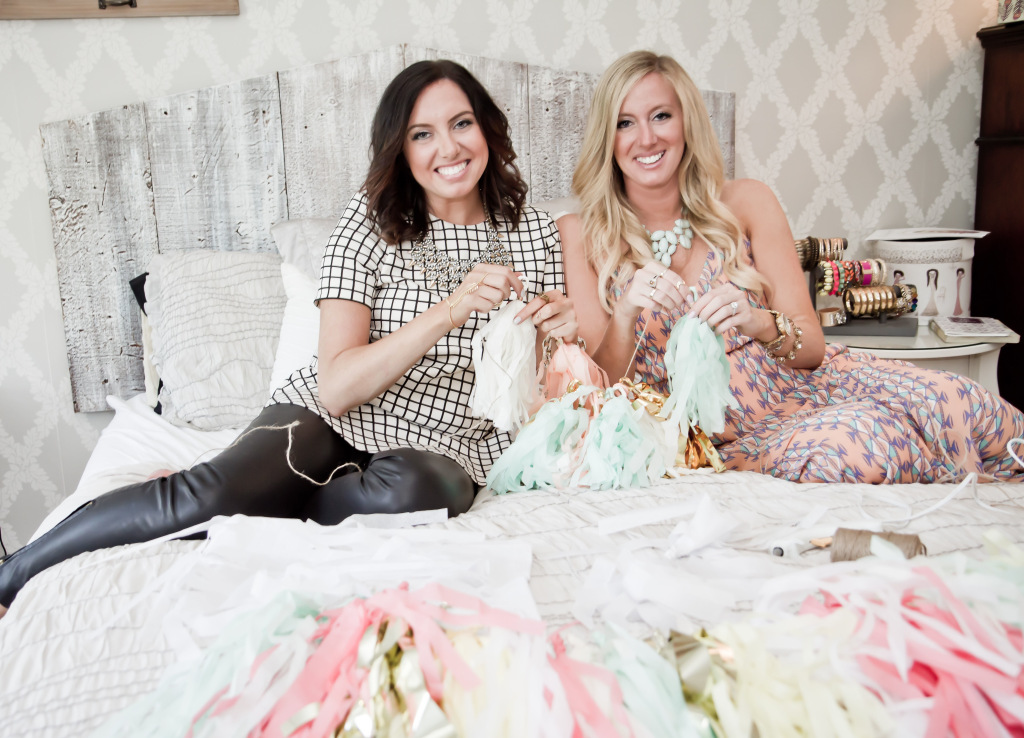
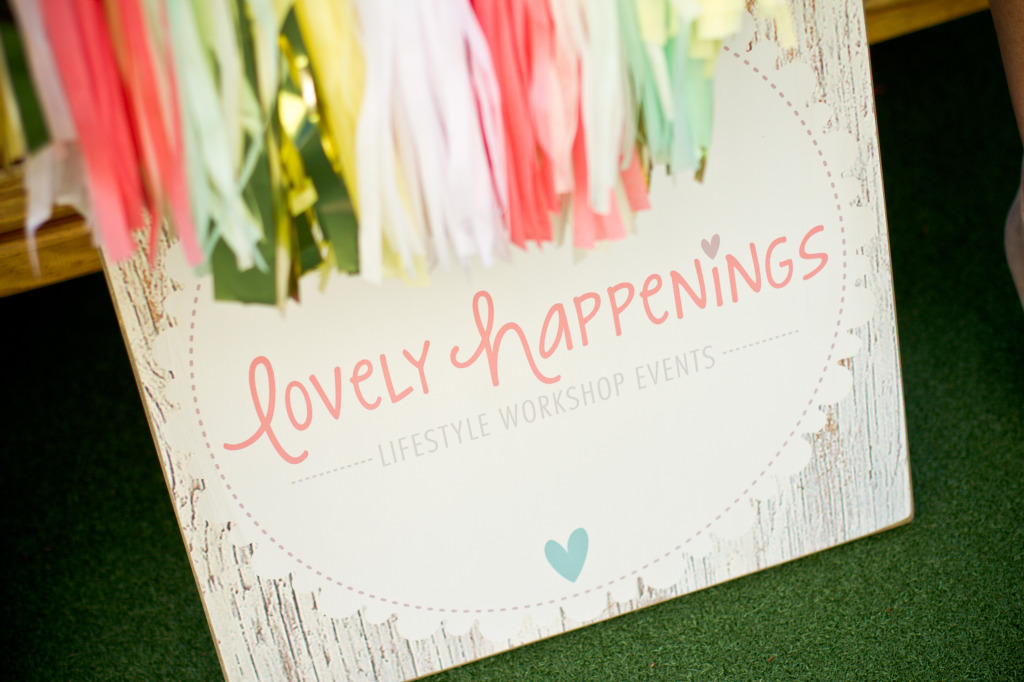
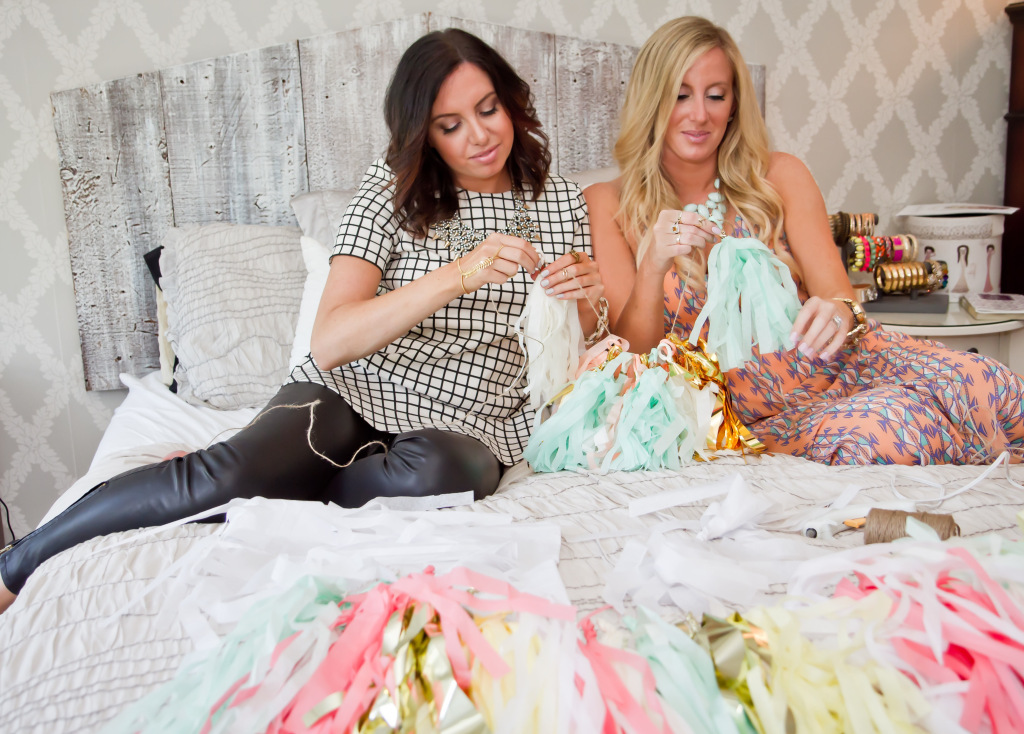
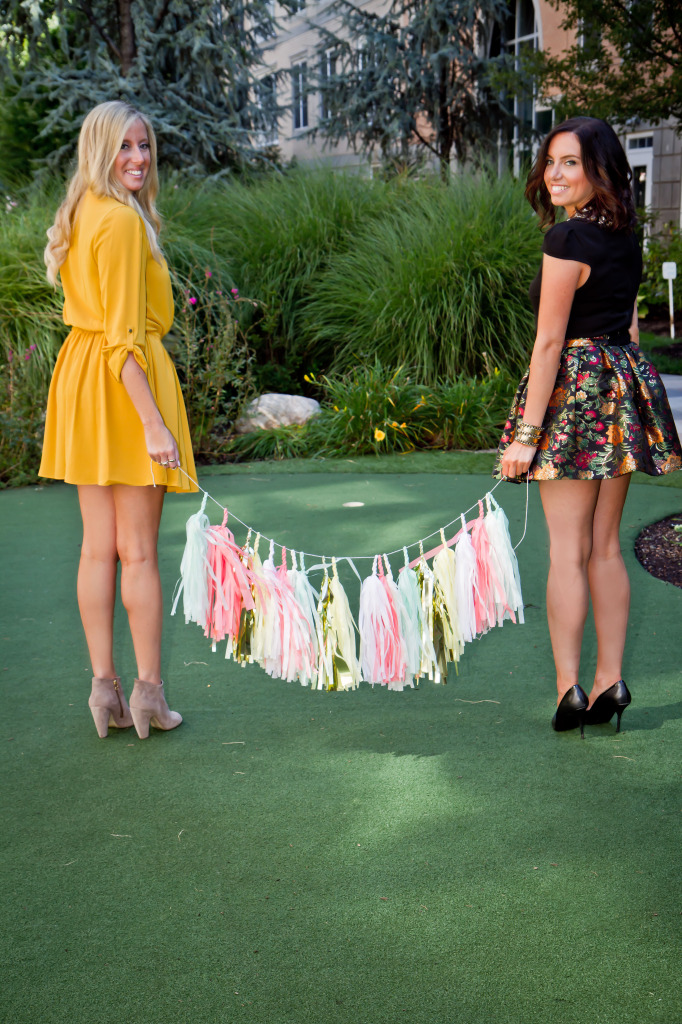
The tassel garland is a DIY craft that everyone can use at one point or another. This is a great addition to any celebration: a bridal shower, baby shower, wedding, or birthday party.
The best part about the tassel garland is that you don’t have to commit to using it for one event. Because it is not a banner with specific words or a theme spelled out, you can just choose your favorite color tissue and create your favorite pattern!
Here’s a tip- In between uses feel free to hang your tassel garland above your bed or headboard in your bedroom. This also makes for festive everyday décor!
MATERIALS:
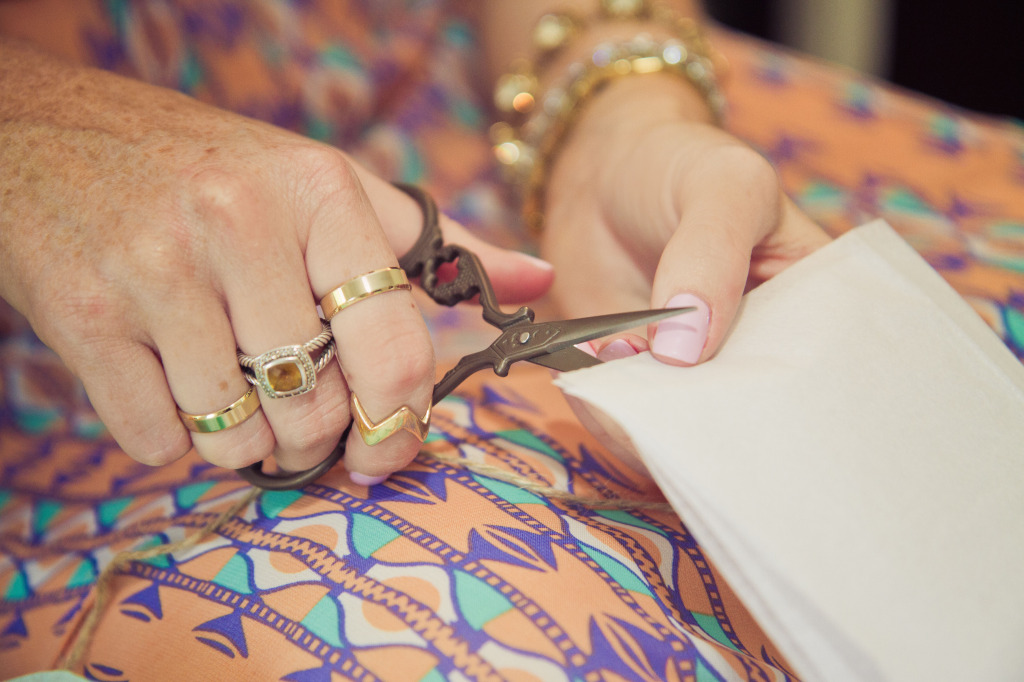
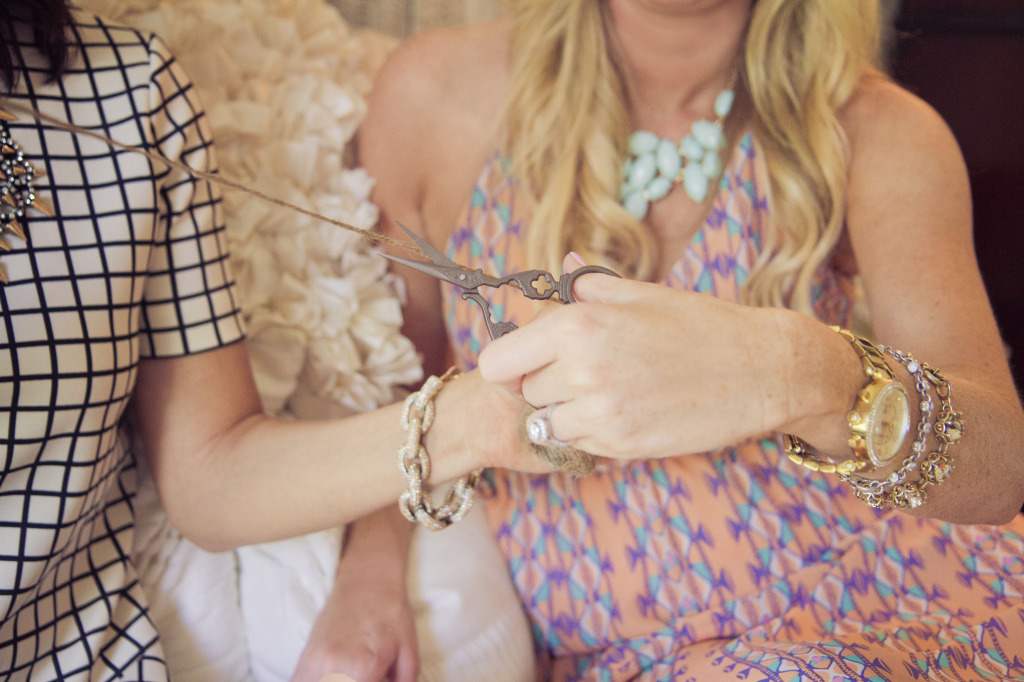
INSTRUCTIONS:
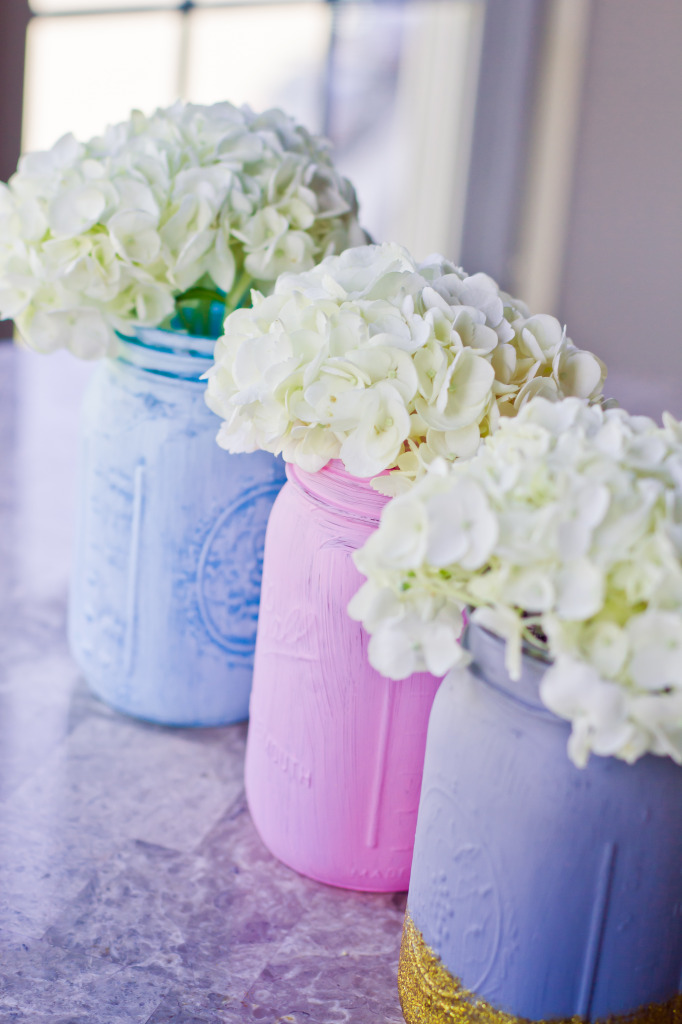
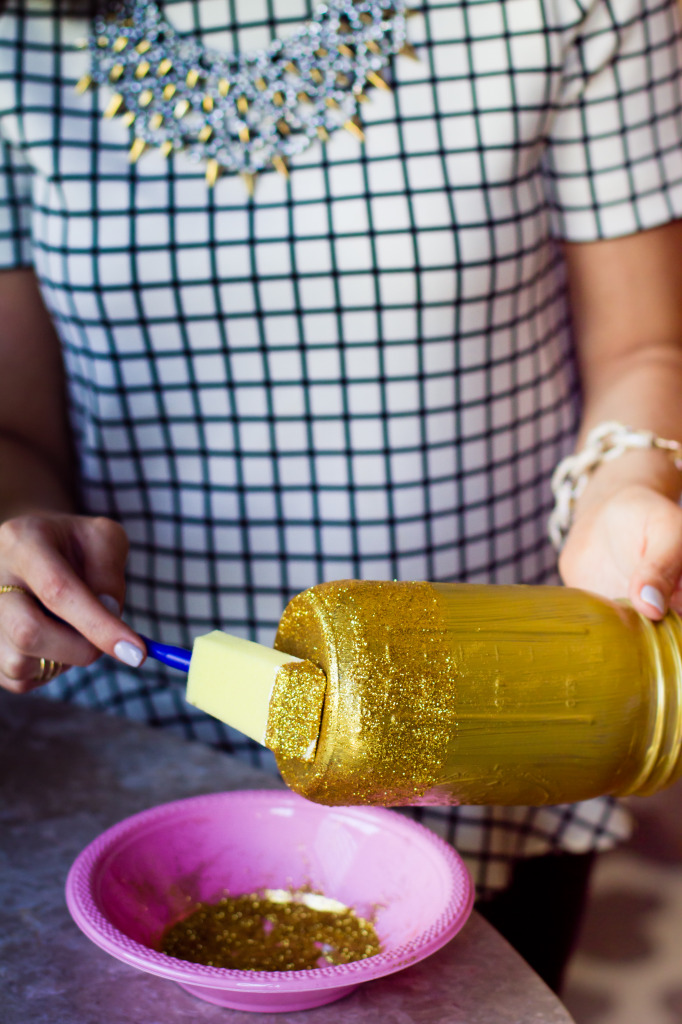
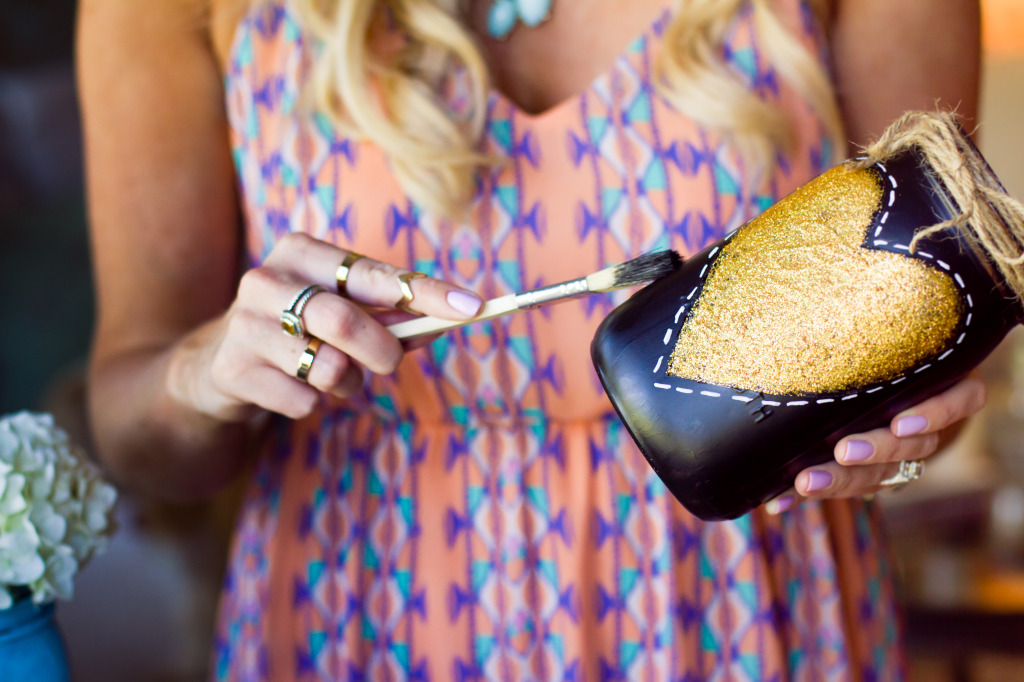
As sisters, we may think alike in most respects, but definitely not all. It is safe to say that we have our own personal styles when it comes to home décor, but at the end of the day there is one thing we can agree on: Mason Jars.
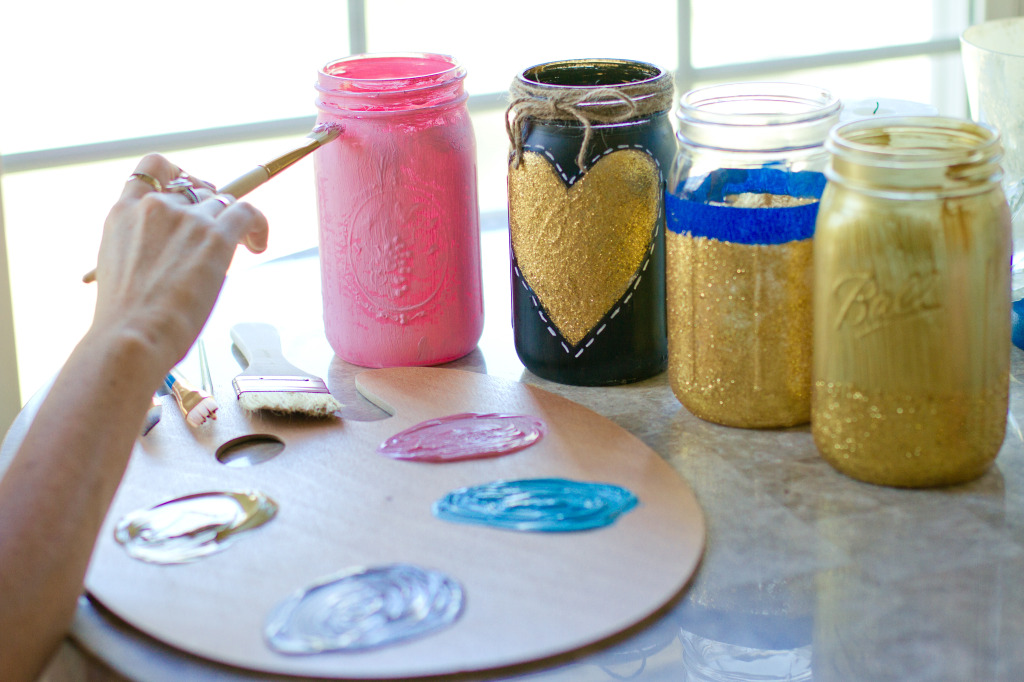
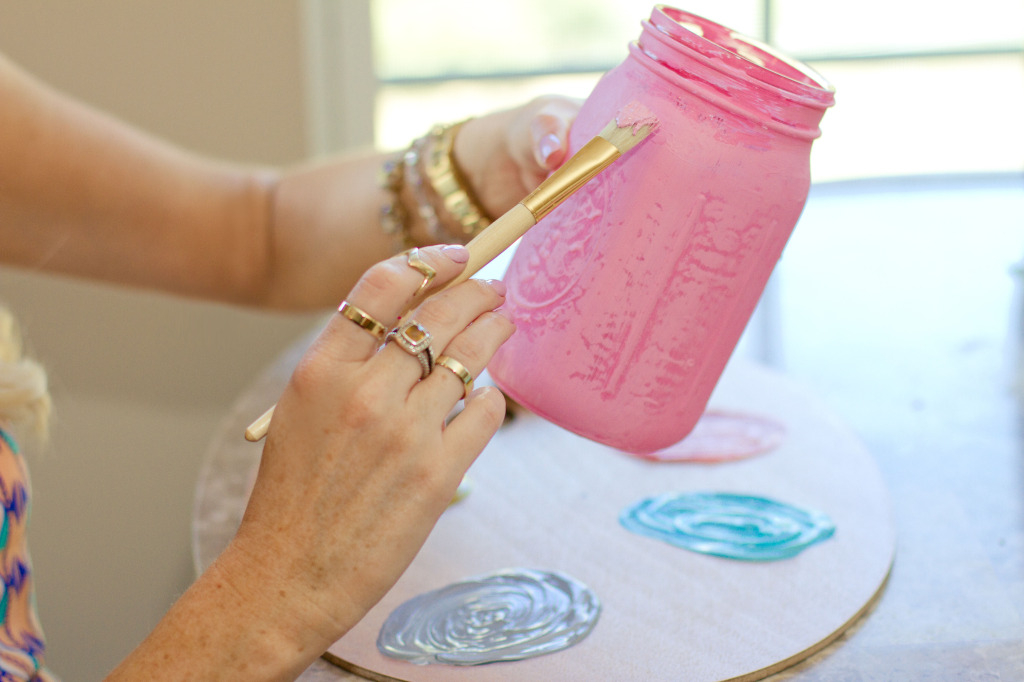
Mason jars are an easy way to soften up the look of any room. They can be used as vases, drinking glasses, candle holders; the list goes on. We enjoy mixing and matching, so we decided to paint and glitter coordinating mason jar vases together.
MATERIALS:
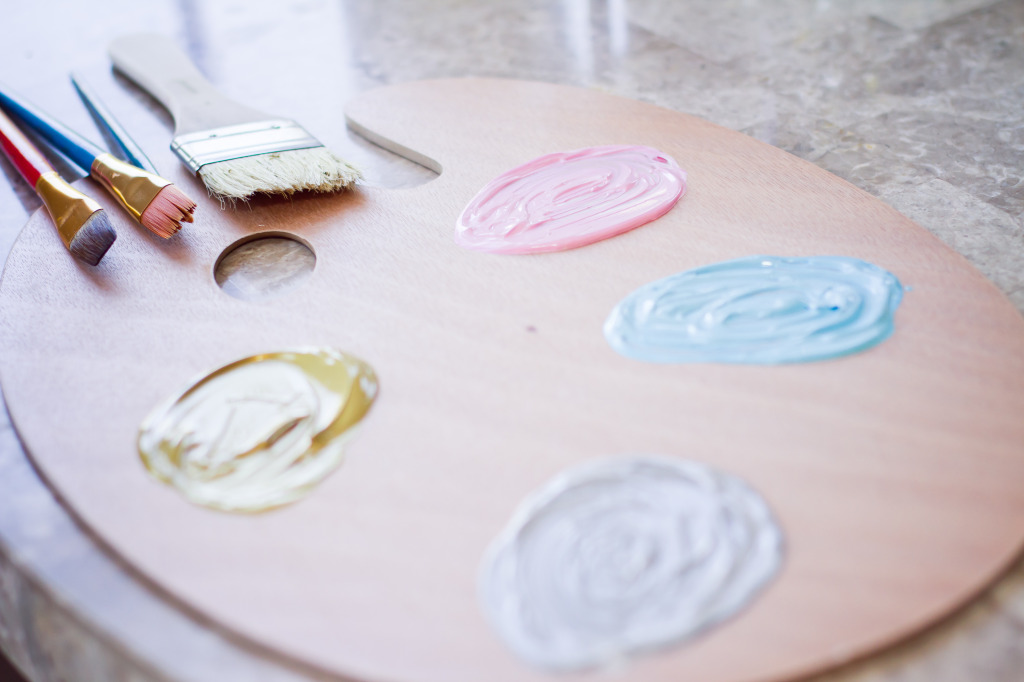
INSTRUCTIONS:
Painting Jars:
Glittering Jars:
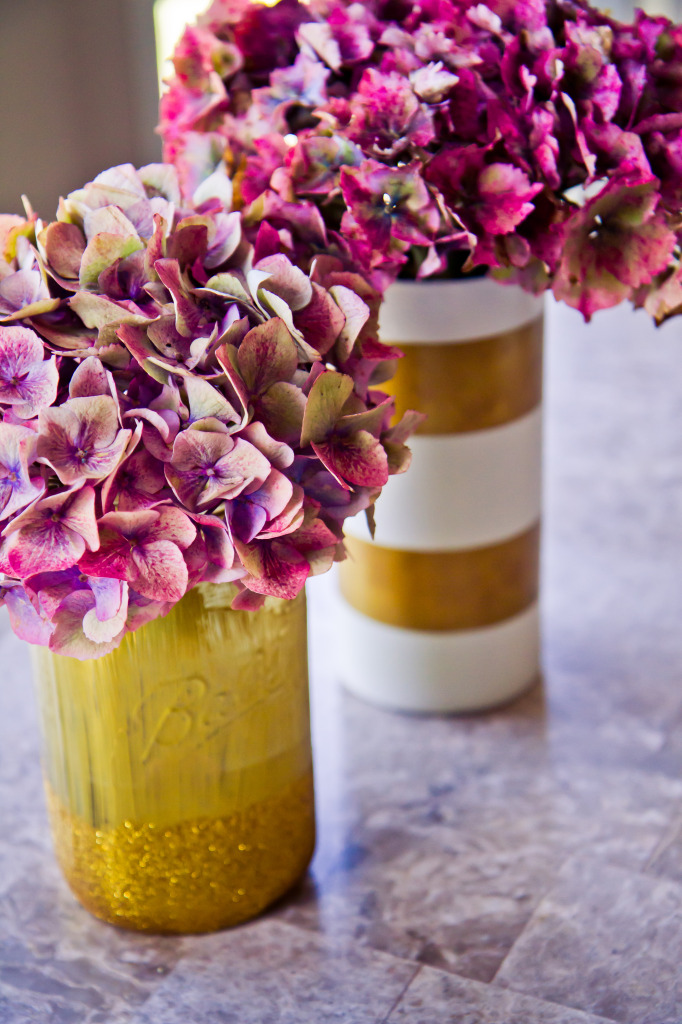
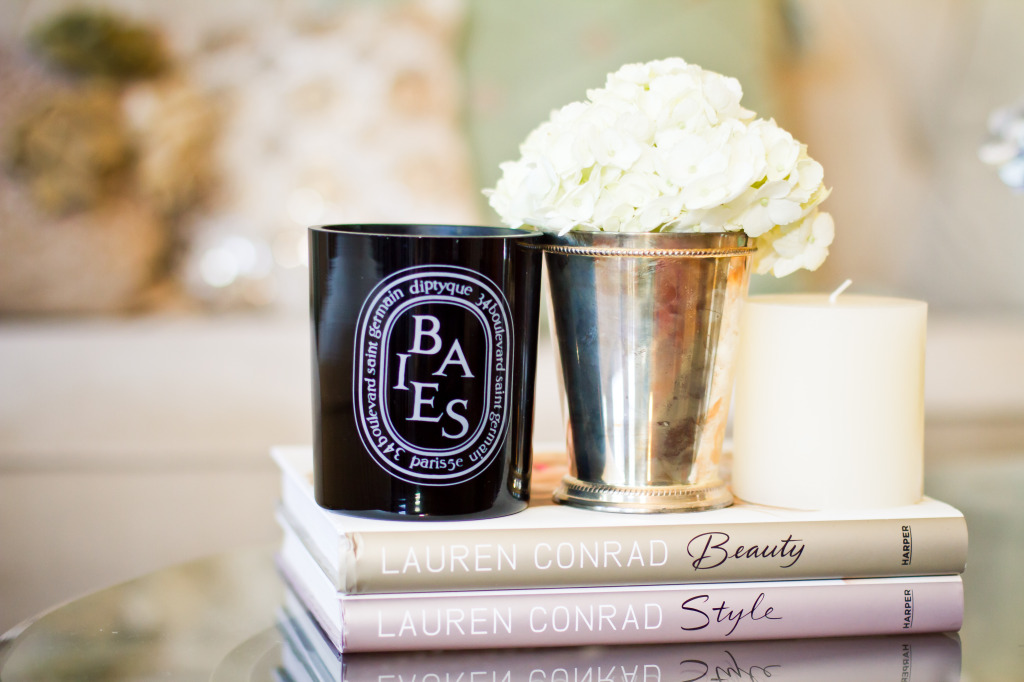
Ready to take those beauties and actually use them around the house? There are so many different things you can do with your new glittered and painted mason jars. We recommend arranging some beautiful flowers to compliment them (we like to stick with one colorway). Or you can keep it simple and place them on a coffee table with your favorite books and scented candles. Before you know it, your home will quickly adapt to a fancier look.
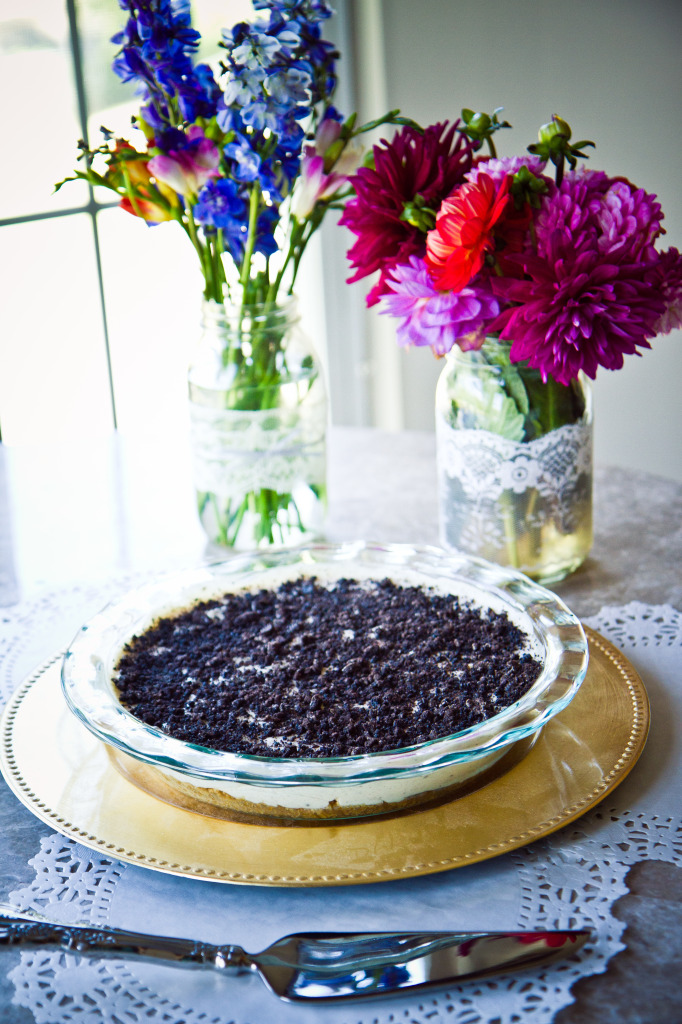
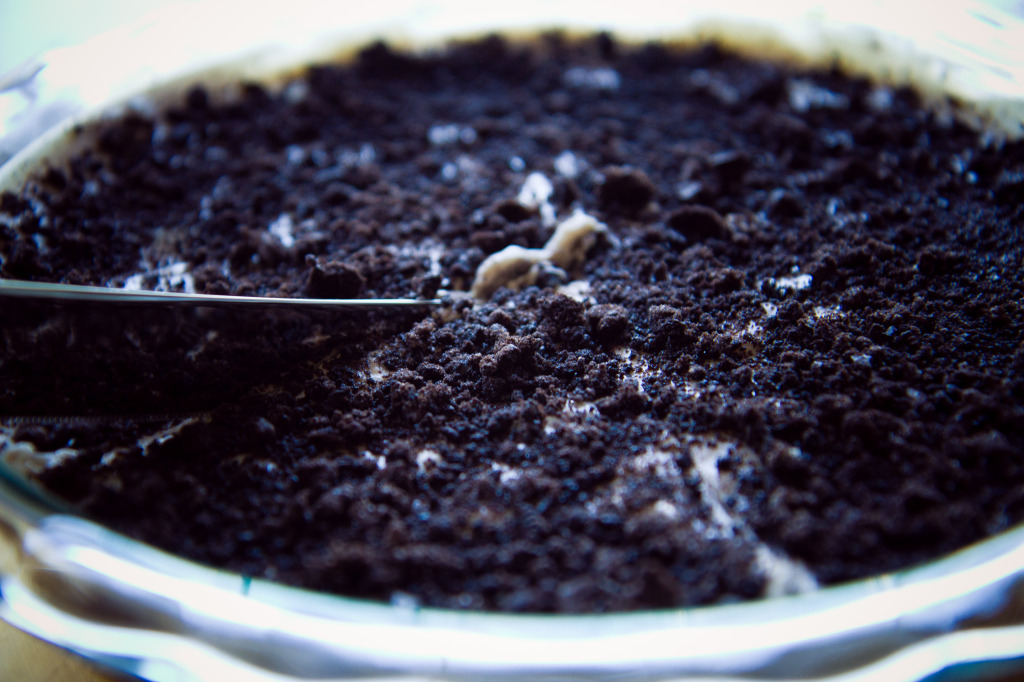
Whether you’re entertaining guests, attending a friend’s dinner party, or staying in after a rough day, this dessert treat will never disappoint. We will come up with any excuse to make this No Bake Oreo Cheesecake because it is THAT good. When it comes to this recipe, you can forget about pre-heating the oven, and focus on all of the yummy ingredients!

INGRETIENTS:
INSTRUCTIONS:
Graham Cracker Crust:
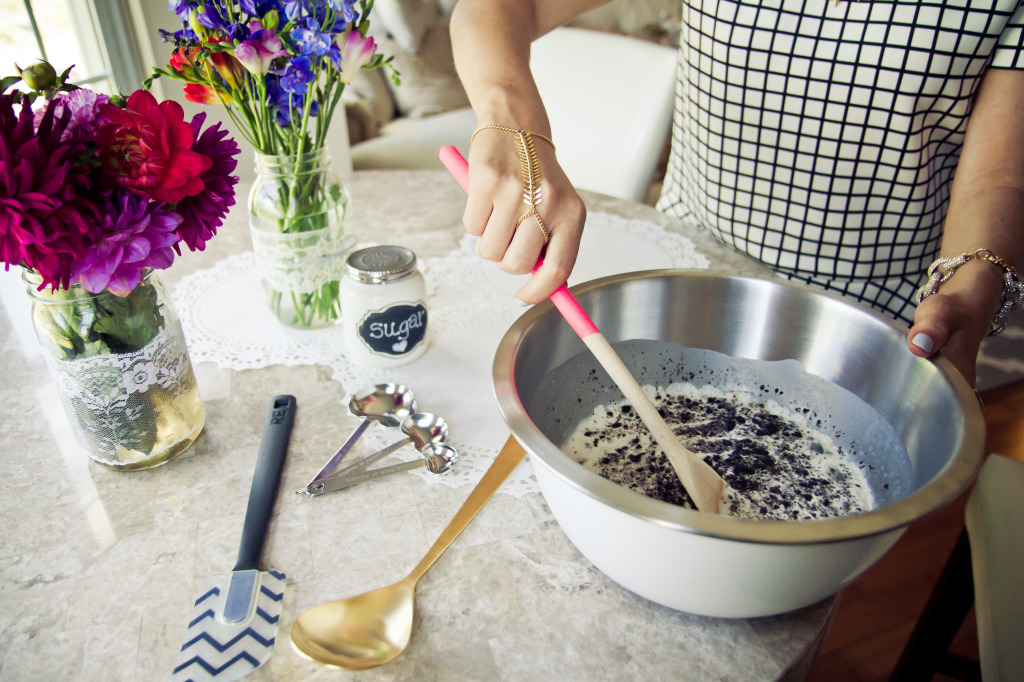
Crumb the graham crackers in a food processor or in a plastic bag with a rolling pin. Melt the butter and add it into the crumbs; Also add in 1/3 cup of sugar. Mix ingredients together and press into pie pan. Compact and press the crumbs well (use the bottom of a glass to press down at the bottom). Chill crust for at least one hour before filling.
Filling:
Combine cream cheese with mascarpone. Then add vanilla extract and 5/8 cup of sugar and mix. Whip the cream separately then combine with other ingredients. Crush oreos in a plastic bag with rolling pin. Then evenly add crushed oreos to ingredients. Mix together. Pour the filling into the prepared pan with crust. Transfer to the fridge for at least 6 hours. And voilà…you have created heaven on a plate!
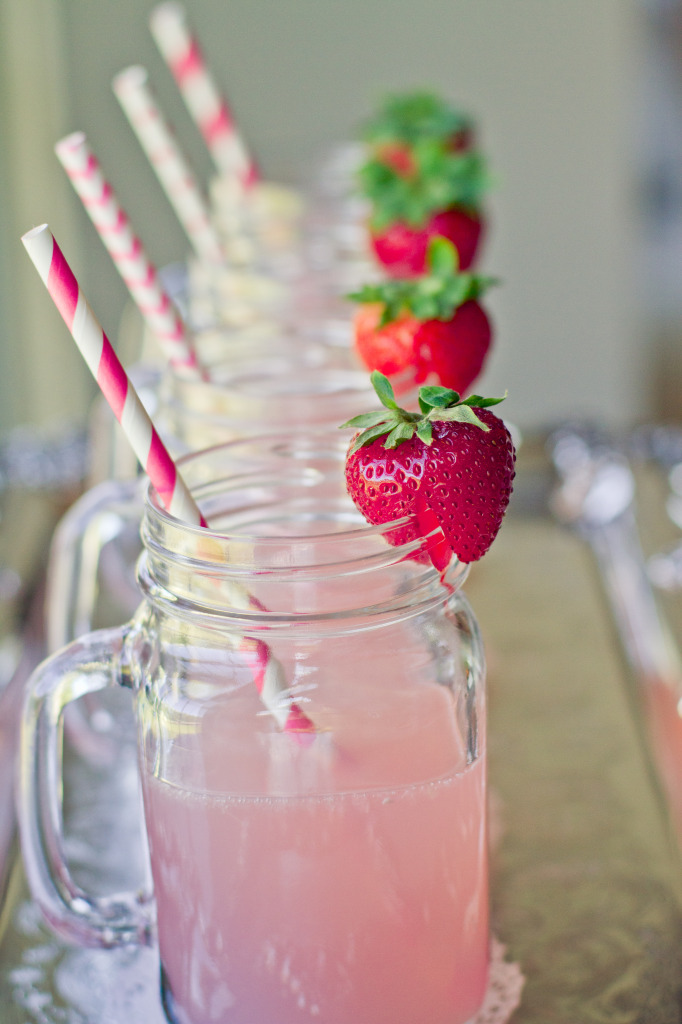
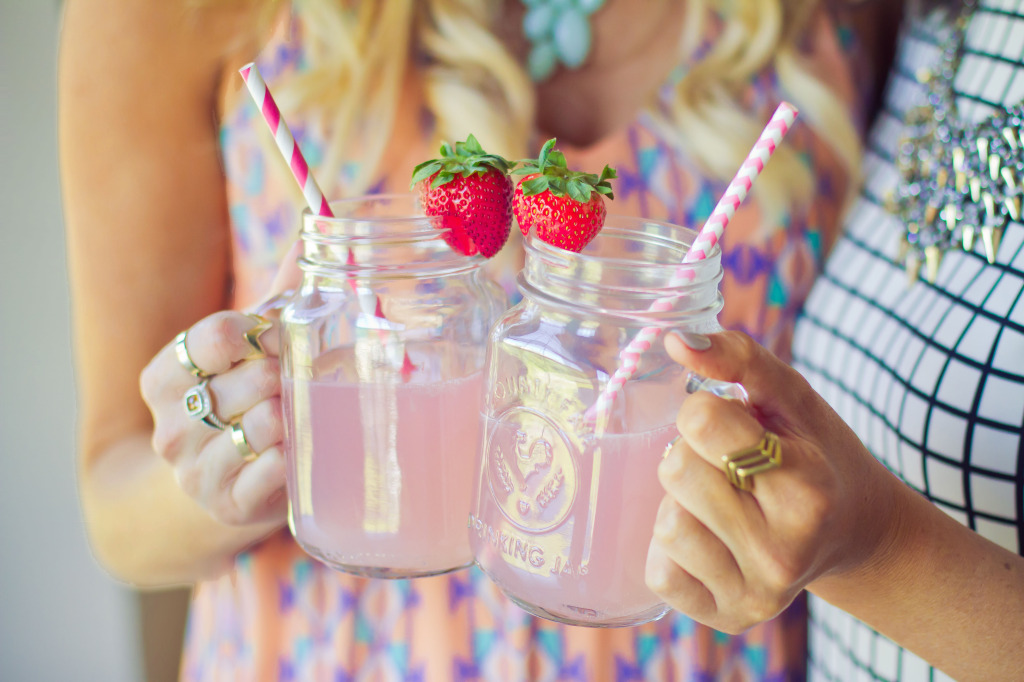
We are firm believers in accompanying every well thought out meal with a well thought out cocktail, although sometimes you just want to forget the alcohol and feel a bit more refreshed. Pink lemonade can be the perfect beverage for a bridal shower, a barbecue, or a girl’s night in. This drink is simple, fun, and let’s face it, it’s pretty to look at too! Whenever we drink it we can’t help but feel like Kristen Wiig in Bridesmaids “Damn it, that’s fresh!”
A personal favorite of ours: Newman’s Own Pink Virgin Lemonade
If you choose to make your own, here is a great recipe.
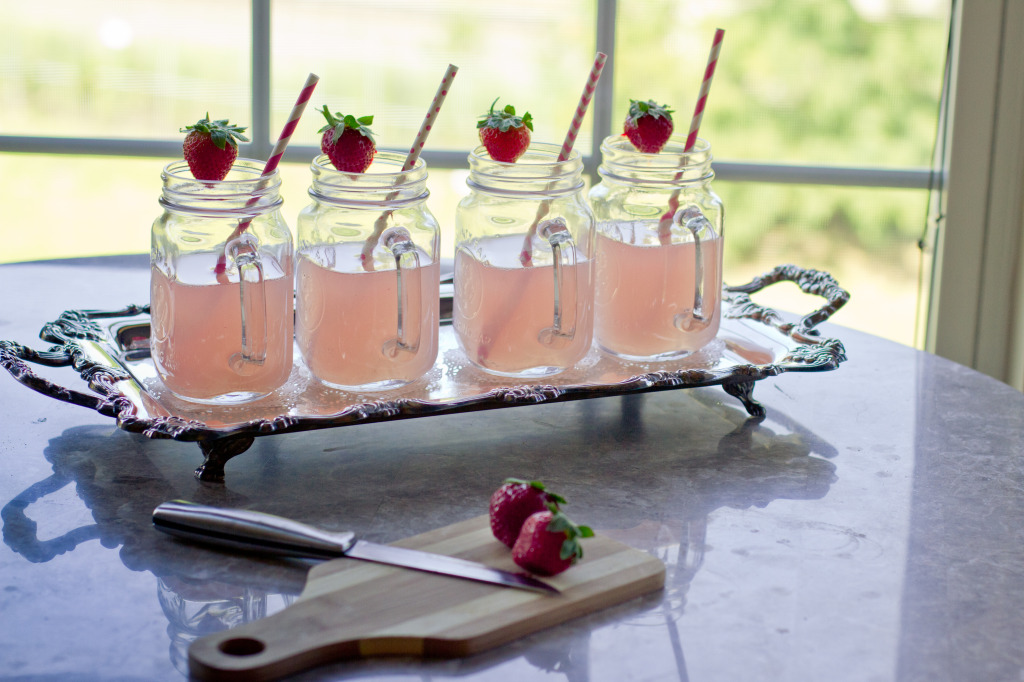

And if you’re craving that cocktail, you can always add a splash of vodka!

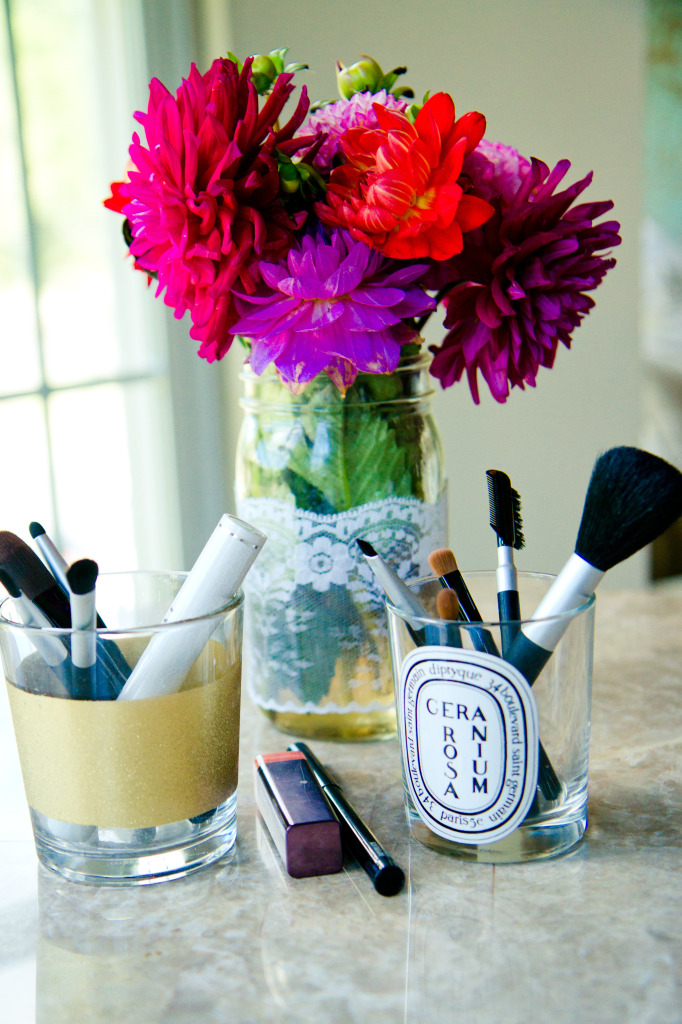
We are open to all brand names when it comes to makeup, and we have a larger collection of products than we would like to admit, but we would have to agree that a majority of our truly special colors and tools have come from MAC.
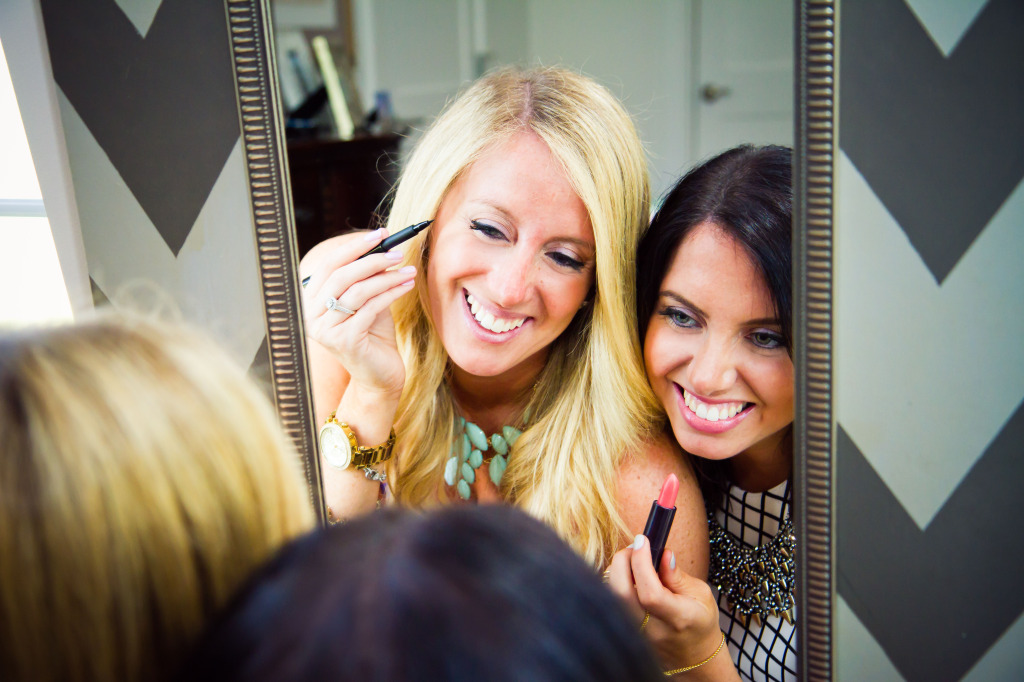
A chic and easy look that we like to apply on ourselves is the Cat Eye. This can be done swiftly with MAC’s Penultimate Eyeliner Pencil.
How-To
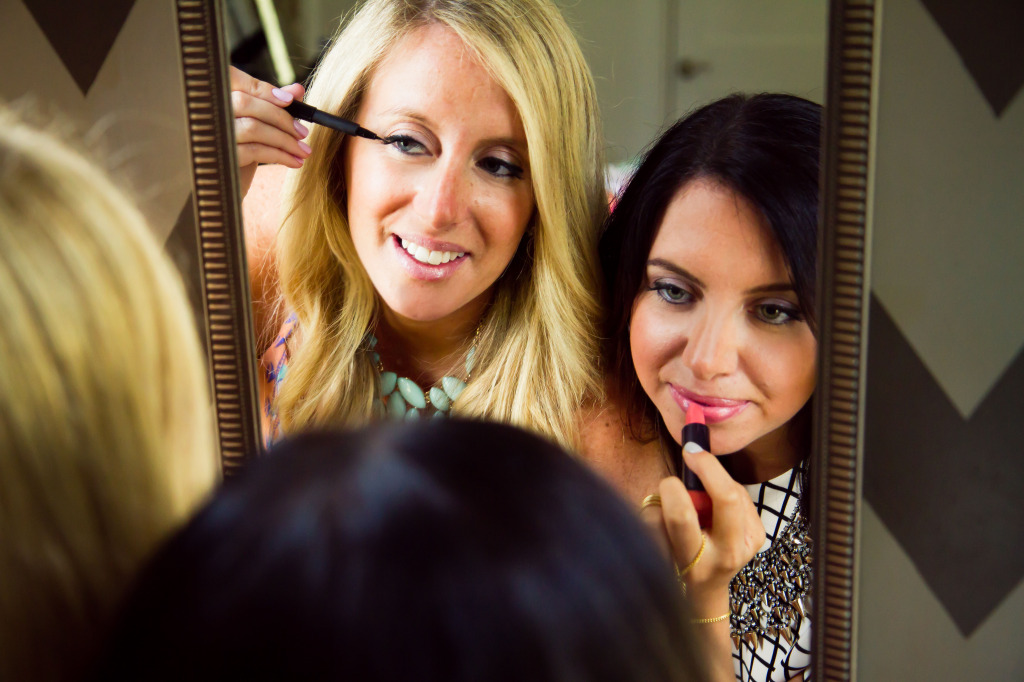
One of the easiest ways to add a pop of color to your look is through your lips. A simple pink, red, or plum can completely transform your look in seconds. We urge all females to take the plunge and add a pop of color into their beauty regimen! See some of our favorite can’t-live-without lip colors below:
We would like to thank Jennifer Casson of Hoboken Girl for our amazing photo-shoot! We had such a fun day filled with all things girly! We would not have been able to bring our passion and projects to life without her!
Check out her blog post as well featuring our first Lovely Happenings photo-shoot: Jennifer Casson Blog
Keep checking back on our Lovely Happenings Blog for more inspiration and lifestyle how-to’s still to come! Also keep a lookout for our announcement of demonstrators for our first event. We will tell you all about them and the lifestyle lessons and projects that you have to look forward to.
See you soon darling!